Automated trading checklist: Optimize crypto strategies and manage risk
Automated trading checklist: Optimize crypto strategies and manage risk

TL;DR:
- Building reliable crypto trading bots requires solid infrastructure, risk controls, and thorough backtesting.
- Effective risk management includes position limits, portfolio heat monitoring, and automated kill switches.
- Strict discipline and adherence to a detailed checklist are essential for long-term success in automated crypto trading.
Automated crypto trading can generate impressive returns, but it exposes you to a unique combination of technical failures, market volatility, and strategy blind spots that manual trading rarely hits all at once. Building a bot that actually performs requires far more than writing a strategy and flipping a switch. You need a structured framework that accounts for infrastructure, risk controls, backtesting discipline, and deployment readiness. This guide breaks down a complete automated trading checklist, from the nuts and bolts of your server setup to the subtle art of avoiding over-optimization, so you can trade with confidence instead of crossed fingers.
Key Takeaways
| Point | Details |
|---|---|
| Infrastructure matters | A dependable technical setup minimizes downtime and trading errors in automation. |
| Risk controls are vital | Managing position sizes and using kill switches protects you from major losses. |
| Test beyond backtests | Avoid over-optimized strategies by demanding real-world robustness before live trading. |
| Diversify across exchanges | Automating on multiple platforms lowers the risk of single-point failures. |
Set up reliable infrastructure for automation
Before your bot executes a single trade, the environment it runs in determines whether it survives real market conditions. Most traders focus on strategy logic and skip infrastructure entirely. That’s a mistake that shows up fast when an exchange API goes down or your server lags during a volatility spike.
The foundation of any reliable automated trading setup includes three layers: compute environment, network connectivity, and API management. Each layer has specific requirements depending on whether you’re running a moderate-frequency swing bot or a high-frequency scalping system.
Compute environment. For casual or intermediate automation, a reliable cloud VPS (virtual private server) in a major data center works well. For high-frequency trading (HFT), the requirements jump significantly. As outlined in guides covering HFT crypto bot setup, expert-level bots should use co-located VPS instances, WebSocket connections, low-latency programming languages like Rust or C++, and careful API rate limit management. Co-location means your server physically sits near the exchange’s matching engine, cutting round-trip latency from hundreds of milliseconds down to single digits.
Network connectivity. WebSocket connections maintain a persistent, real-time data feed rather than polling the exchange with repeated HTTP requests. This dramatically reduces the delay between market events and your bot’s response. Redundancy matters here too. Run a secondary connection or backup data feed so a single network blip doesn’t freeze your trading.
API management. Every major exchange enforces rate limits. Hit them and your bot gets throttled or banned. Build in request queuing, exponential backoff on errors, and automatic reconnection logic. Review the strategy checklist basics to understand how infrastructure decisions interact with your strategy design from the very start.
Infrastructure checklist items to verify before going live:
- VPS or server is provisioned and tested for uptime
- WebSocket connections established and monitored
- API keys configured with correct permissions (trading only, no withdrawal access)
- Rate limit handling is coded and tested
- Backup connectivity or failover is in place
- Alerting set up for crashes, disconnections, and order failures
- Logging active for all order events and errors
For multi-exchange integration, each exchange has its own API architecture and quirks. Test your connections individually before running simultaneous bots across platforms.
Pro Tip: Never store API keys in plain text within your code. Use environment variables or a secrets manager. A leaked key with trading permissions can drain your account within minutes.
Strong infrastructure doesn’t guarantee profits. But weak infrastructure guarantees failures at the worst possible moments. Get this layer right before anything else.
Essential risk management and portfolio safeguards
Once your infrastructure is in place, comprehensive risk management ensures your automation won’t unravel during market turbulence. Crypto markets move fast. A bot without hard risk limits can lose weeks of gains in an afternoon.
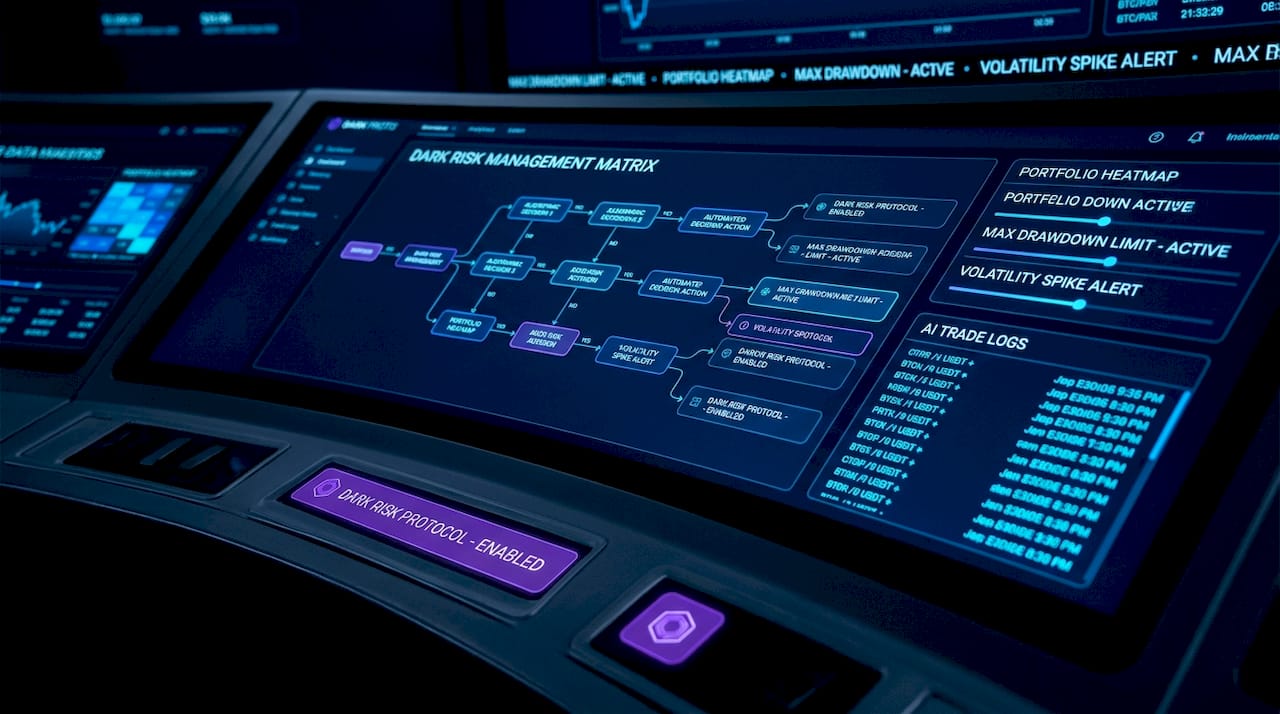
Risk management in automated trading operates at two levels: individual trade controls and portfolio-wide exposure monitoring. Both are non-negotiable.
Position sizing and stop-losses. Start conservative. Limit any single position to no more than 1 to 2 percent of your total portfolio. This is the foundation of the 1-2% rule for safer trades, and it works because it keeps any single loss from meaningfully damaging your capital base. Combine this with hard stop-losses coded directly into your strategy, not just mental targets.
Portfolio heat monitoring. “Portfolio heat” refers to the total percentage of your capital at risk across all open positions simultaneously. If every position hits its stop-loss at the same time (which happens during correlated market drops), what’s your total drawdown? Keep this number below 10 to 15 percent for most automation setups. Monitor it in real time.
“Flash crashes, API downtime, high correlation drawdowns, and over-optimization in backtests are real edge cases that automated traders must plan for. Mitigate them with kill switches, multi-exchange deployment, and active portfolio heat monitoring.” HFT crypto bot setup: What you need
Kill switches and circuit breakers. A kill switch is an automated trigger that halts all trading when a predefined loss threshold is hit. For example, if your bot loses 5 percent in a single day, trading stops automatically. You review, assess, and restart manually. This simple mechanism has saved traders from catastrophic losses during flash crashes and technical errors.
Risk management checklist items:
- Maximum position size defined and enforced by code (not just guidelines)
- Stop-losses embedded in every strategy, not optional
- Portfolio heat limit defined and actively tracked
- Daily and weekly drawdown limits with automated halt triggers
- Kill switch active and tested
- Multi-exchange deployment to avoid single-point-of-failure risk
- Alerts for margin calls, unusual fill prices, or high slippage events
For deeper guidance, explore risk management best practices covering how automation layers mesh with real-time market risk.
Pro Tip: Run your kill switch in a separate process from your main bot. If the bot crashes or hangs, the kill switch still needs to function independently to stop any pending orders.
Risk management isn’t pessimism. It’s the structure that keeps you in the game long enough to be profitable.
Avoid over-optimization: Backtesting and real-world robustness
Solid risk controls lay the groundwork, but true resilience depends on how well your trading logic stands up to shifting market conditions. Backtesting is where most traders develop false confidence, and where many automation projects eventually fail.
Over-optimization, sometimes called curve fitting, happens when you tune your strategy so precisely to historical data that it essentially memorizes the past instead of learning from it. The backtest looks outstanding. Then live trading begins and performance collapses because the market doesn’t repeat itself perfectly.
Here’s how to build backtests that actually predict live performance:
- Use out-of-sample data. Split your historical data into a training set and a test set. Optimize your strategy only on the training data, then evaluate it on the test set without further adjustments. If performance drops significantly on the test set, you’re overfitting.
- Walk-forward analysis. This technique rolls the optimization window forward through time, simulating how your strategy would have adapted in real deployment. It’s more realistic than a single-window backtest and much harder to game.
- Paper trading or live simulation. Before committing real capital, run your strategy on a live data feed with simulated orders. This catches issues that backtests miss entirely, such as slippage, fill delays, and real-time data gaps.
- Test across multiple market regimes. A strategy that only works in bull markets, or only in high-volatility environments, is fragile. Test your logic across trending, ranging, and crash conditions deliberately.
- Limit the number of parameters. Every parameter you add is another opportunity to overfit. A strategy with 12 optimizable inputs is almost certainly memorizing noise. Start with 2 to 3 core parameters and add only when there’s a clear logical reason.
“Over-optimization in backtests is a documented edge case that leads to live performance failures. The mitigation strategy is consistent: use kill switches, multi-exchange setups, and active portfolio heat monitoring during deployment.”
To understand where optimization crosses the line from useful to dangerous, read up on safe strategy optimization and explore common AI optimization pitfalls that affect even experienced quant traders.
Pro Tip: If your backtest produces a Sharpe ratio above 3.0 with no drawdowns greater than 5 percent, be deeply skeptical. Real-world strategies almost never perform that cleanly. A “perfect” backtest is often a red flag for overfitting.
Backtest results are a starting point, not a guarantee. Treat them as one input among many, not the finish line.
Automated trading checklist: Summary and comparison
With technical, risk, and backtesting best practices addressed, it’s time to synthesize it all into a concise, actionable framework. The table below compares must-have checklist items across basic, intermediate, and advanced automation setups, helping you identify exactly where your current setup sits and what to prioritize next.
| Checklist item | Basic setup | Intermediate setup | Advanced setup |
|---|---|---|---|
| Cloud VPS with uptime monitoring | Required | Required | Required |
| Co-located VPS near exchange | Not needed | Optional | Strongly advised |
| WebSocket data feeds | Optional | Recommended | Required |
| API rate limit handling | Basic | Full queuing | Full queuing + failover |
| Position size limits (1-2%) | Required | Required | Required |
| Portfolio heat monitoring | Manual | Automated alerts | Real-time dashboard |
| Kill switch / circuit breaker | Recommended | Required | Required |
| Multi-exchange deployment | Optional | Recommended | Required |
| Out-of-sample backtesting | Recommended | Required | Required |
| Walk-forward analysis | Optional | Recommended | Required |
| Live paper trading before deployment | Recommended | Required | Required |
| Parameter count limit (under 5) | Recommended | Required | Required |
The table makes the gaps visible. Basic setups can function, but they carry meaningful blind spots in network resilience, portfolio monitoring, and backtesting rigor. Intermediate setups close most of the critical gaps. Advanced setups eliminate single points of failure across every layer.
How should you prioritize improvements based on your resources and goals? Three practical principles apply:
- Fix infrastructure first. A broken API connection or server crash overrides any strategy advantage. Stability comes before optimization.
- Non-negotiable risk controls come second. Kill switches and position limits are cheap to implement and protect everything else. No strategy is worth running without them.
- Backtesting discipline is ongoing. Markets evolve. A strategy that passed walk-forward testing in 2024 may need revalidation in 2026 conditions.
As covered in detail through integration across exchanges, deploying across multiple exchanges adds resilience against exchange-specific downtime, flash crashes, and liquidity gaps that can trap single-exchange bots in losing positions.
The goal of this checklist isn’t perfection on day one. It’s a living framework you audit regularly. Mark what’s complete, flag what’s missing, and set a timeline to close every gap.
Our take: The real value of a trading checklist in volatile crypto markets
Here’s something most automation guides won’t say directly: the checklist itself is not what protects you. Your willingness to follow it under pressure is.
Most traders who blow up their bots don’t fail because they lacked knowledge. They fail because they skipped steps when they were excited about a backtest result, or they disabled their kill switch “just for this one trade,” or they deployed a strategy without out-of-sample testing because the market looked favorable. Pressure and overconfidence are the two biggest enemies of disciplined automation.
A written checklist does something purely mental rules cannot. It creates an external record that forces accountability. When you check off “kill switch tested and active,” you can’t later pretend you did it if you didn’t. The act of writing it down and verifying it changes your behavior.
The traders who build lasting automated systems treat their checklist like pilots treat a pre-flight check. Not as bureaucracy, but as the thing standing between a routine flight and a catastrophic error. They update it after every failure or near-miss, adding new items based on what the market taught them.
If you want to understand what real maximizing crypto bot returns looks like in practice, it almost always traces back to disciplined process execution rather than superior strategy design. The edge is in the habits.
Supercharge your automation with advanced tools
If this checklist revealed gaps in your current setup, the good news is that the right platform handles most of these requirements for you automatically.
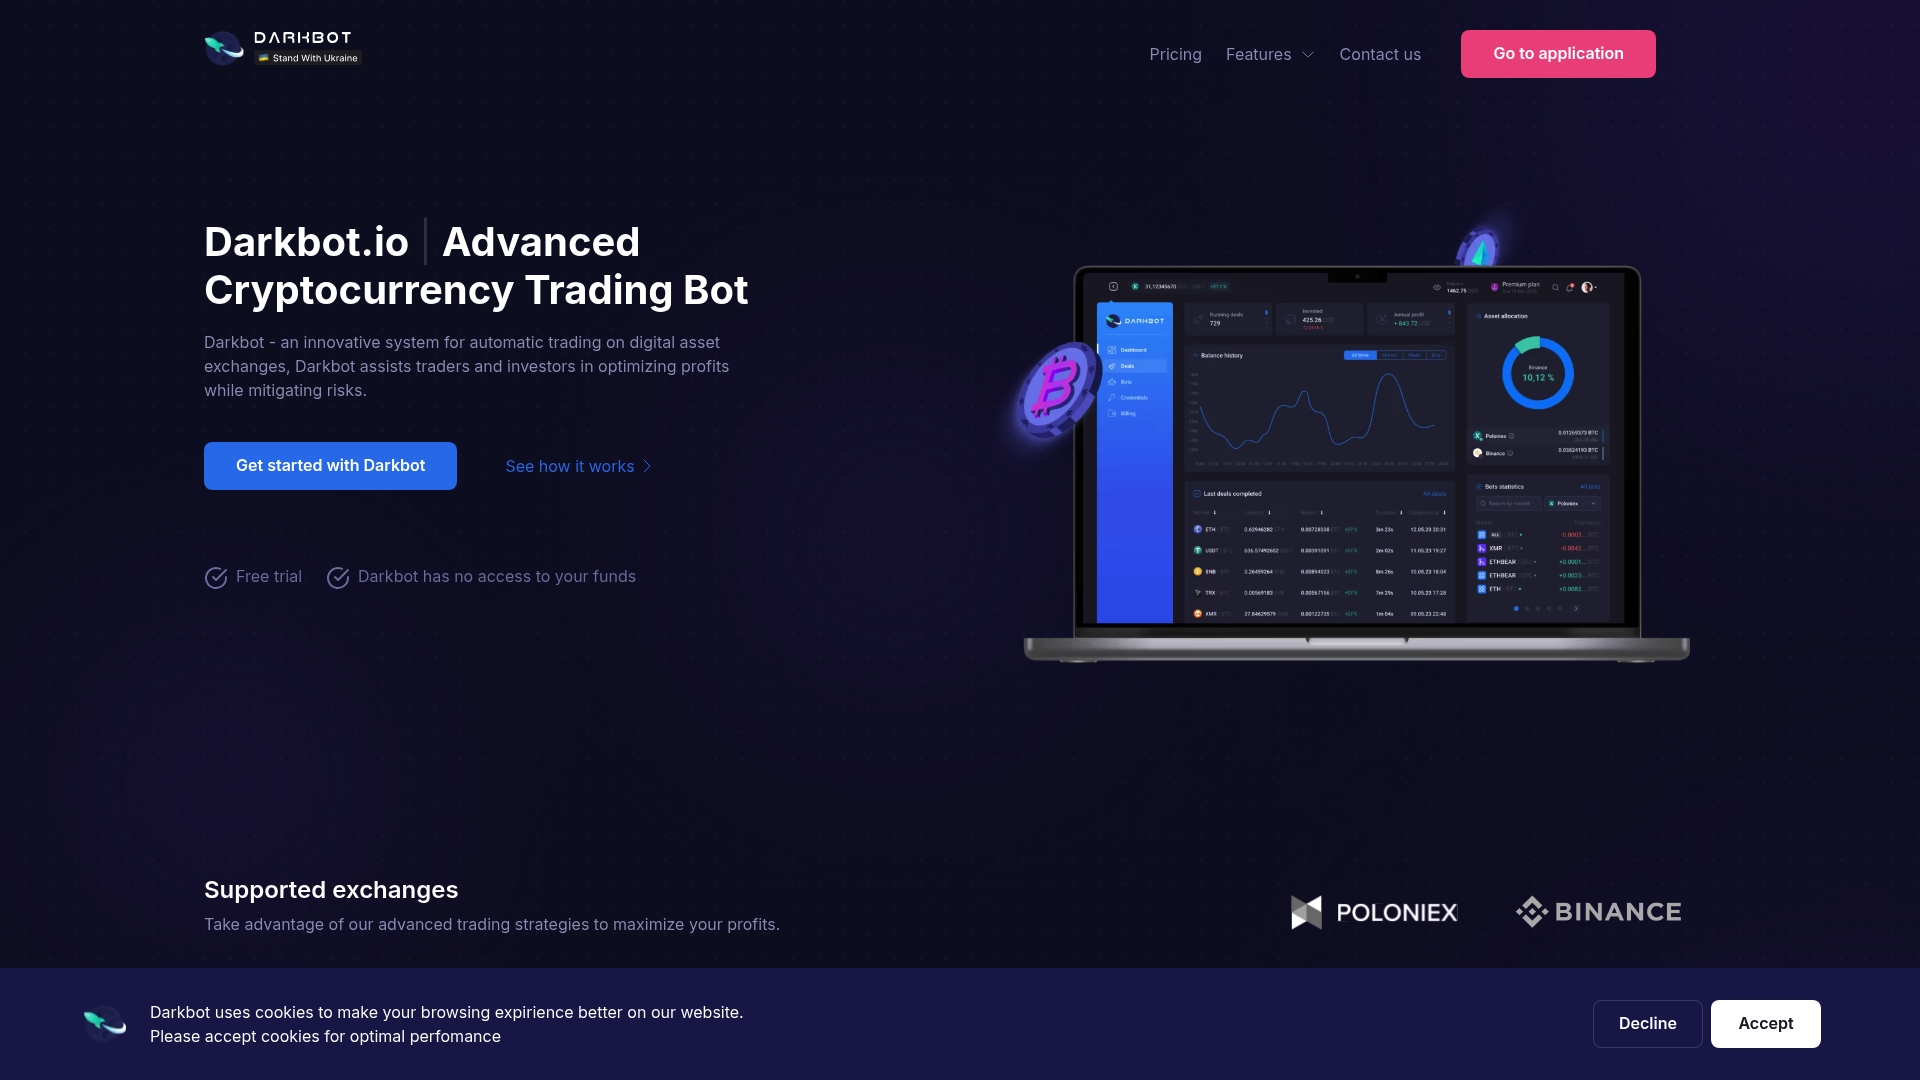
At Darkbot.io, we built our platform specifically to make every item on this checklist easier to implement, monitor, and maintain. From seamless API key integration and multi-exchange connectivity to real-time portfolio analytics and automated risk controls, the platform handles the operational complexity so you can stay focused on strategy. Our AI-powered engine adapts to market conditions, and our portfolio management solutions give you full visibility into your exposure across every bot and exchange simultaneously. Whether you’re running your first automated strategy or scaling a multi-exchange portfolio, Darkbot.io is designed to support every step.
Frequently asked questions
How do I prevent my automated trading bot from failing during a flash crash?
Use hard-coded kill switches, multi-exchange deployment, and real-time portfolio heat monitoring to limit exposure and halt trading automatically when losses hit predefined thresholds.
What is the most common cause of automated trading losses?
Over-optimization in backtests is a leading cause, producing strategies that perform well historically but fail in live trading because they’ve been tuned to past noise rather than genuine market patterns.
Do I need a powerful server for crypto bot automation?
For standard swing trading bots, a reliable cloud VPS is sufficient, but for high-frequency or expert-level automation, co-located VPS and WebSockets with low-latency languages are strongly recommended to maintain execution speed and reliability.
Can I automate trading across multiple crypto exchanges?
Yes, and it’s highly recommended. Multi-exchange deployment reduces single-point-of-failure risk and spreads your exposure across different liquidity pools, making your overall automation more resilient to exchange-specific outages or volatility events.
Recommended
Start trading on Darkbot with ease
Come and explore our crypto trading platform by connecting your free account!
Free plan available • No credit card required