Stop Loss Placement: 3 Methods, Size the Trade, Then Test
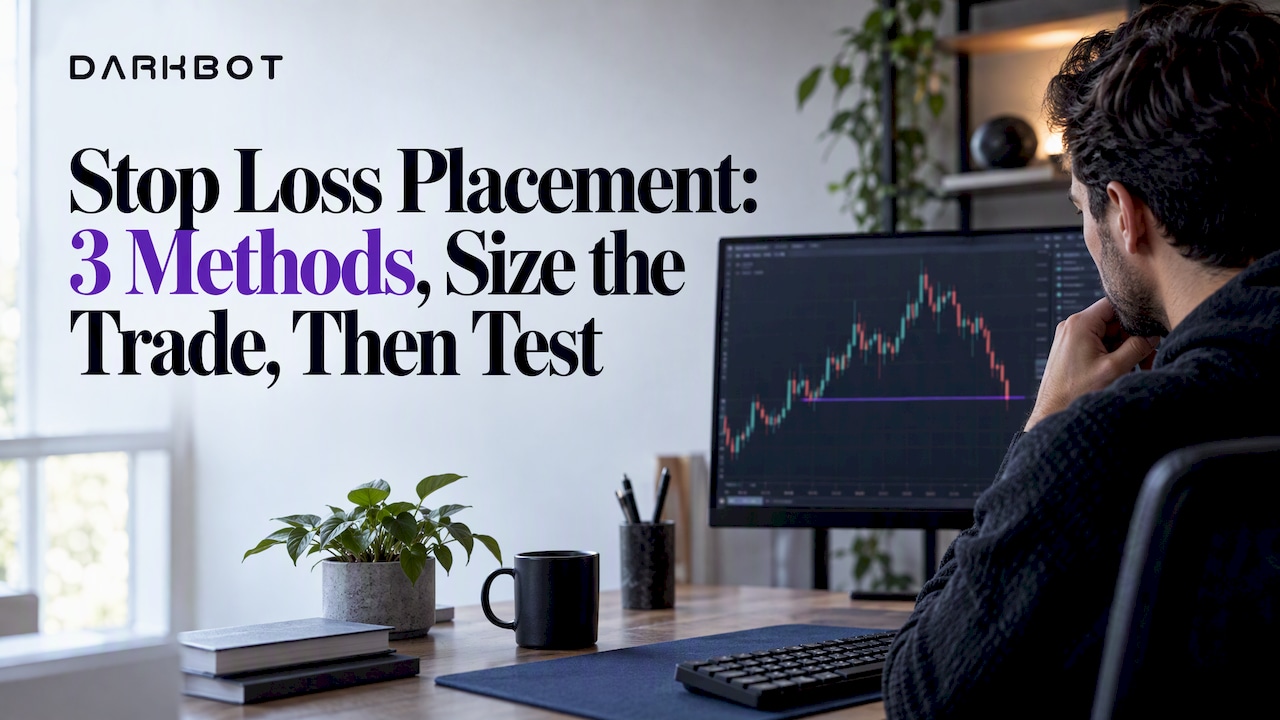
Every stop decision rests on three controls: the order type you choose, the distance method you use to set the stop, and the position size that keeps a loss within your risk limit. Because a stop triggers a market order, validating the whole setup with historical testing matters before committing capital.
TL;DR:
- A stop market order guarantees an exit, not its price; a stop limit controls the worst acceptable price but may remain unfilled during a sharp move.
- Fixed distances suit stable volatility, ATR distances adjust as volatility changes, and structure based stops sit beyond key price levels with an ATR buffer.
- Cap each trade’s risk at 2% of account equity, divide that dollar amount by the stop distance, and reduce position size rather than tightening the stop.
- Validate the entry signal first, optimize stop distance on one data set, then test it on separate data; sharp performance drops around the chosen distance suggest overfitting.
Stop order types and how they affect execution
The mechanics of each order type determine how reliably your stop behaves once the market reaches it. A stop market order converts to a market order the instant the stop price is hit, which the SEC explains means the fill price can differ from the trigger price, sometimes significantly in fast markets. A stop-limit order adds a limit price to that trigger, which caps how far the fill can slip but can also leave the position open if price moves through the limit without trading back.
FINRA’s guidance on volatile markets notes that stop orders become market orders once triggered and recommends that traders understand this before relying on them in fast-moving conditions. The three types in practice:
- Stop market: guarantees execution, not price, and suits liquid instruments where slippage is typically small.
- Stop-limit: guarantees a price floor or ceiling but risks no fill at all during a sharp move.
- Trailing stop: adjusts the trigger as price moves favorably, converting to a market order once touched, same as a standard stop market.
Choosing between them depends on whether you prioritize certainty of exit or certainty of price, a tradeoff that applies across equities, futures, and crypto markets alike.
Three practical methods for setting your stop distance
Once you know the order type, the next decision is distance: how far from entry the stop sits. Three methods cover most systematic and discretionary approaches.
- Fixed-distance stops: a constant percentage or point value (for example, 1% from entry) applied to every trade. This works best for systematic signals on instruments with stable volatility, where the simplicity outweighs the loss of market-specific nuance.
- ATR-based stops: calculate the Average True Range over a lookback period (commonly 14 bars), then set the stop at a multiple of that value, typically 1.5 to 3 times ATR. If ATR on a 4-hour chart reads $120 and you apply a 2x multiple, the stop sits $240 from entry, a distance that scales automatically as volatility expands or contracts.
- Structure-based stops: place the stop beyond a relevant swing high, swing low, or support and resistance level, adding a small buffer (often a fraction of ATR) so normal noise does not trigger an early exit.
Pro Tip: Combine methods by using structure to pick the stop’s general zone, then nudging it with an ATR-based buffer so it clears both the chart level and recent volatility.
Each method answers a different question: fixed stops optimize for simplicity, ATR stops adapt to volatility, and structure stops respect the price action itself.
Position sizing and the 2% rule: turning a stop into a trade size

A stop distance means little until it is converted into a position size that respects your account’s risk tolerance. The 2% rule, as described by CME Group, recommends capping the risk on any single trade at 2% of account equity, which limits how much a string of losses can draw down the account.
The calculation is straightforward:
- Determine account risk in dollars: account equity multiplied by 2%.
- Divide that dollar risk by the stop distance in price terms to get position size in units.
- If a $10,000 account risks 2% ($200) and the stop sits $0.50 from entry, the position size is 400 units.
When a structural or ATR-based stop would require a position size larger than your risk cap allows, the correct adjustment is to reduce size, never to move the stop closer to entry just to fit a preferred trade size. A related breakdown of this logic appears in our crypto trading risk checklist, and the trade management strategies published by EI Algos Inc. walk through similar sizing frameworks for self-directed traders.
What actually happens when a stop order triggers
A stop order is a promise to send a market order, not a promise of a specific fill price. Both the SEC and FINRA note that execution price can land materially away from the stop level once the order converts, particularly during gaps or thin liquidity.

Several conditions widen that gap between trigger and fill, according to FINRA’s guidance: stop orders can themselves accelerate a price move once triggered, since a cluster of stops hitting at once adds market orders to one side of the book.
Common risks and mitigations:
- Stop-hunting near round numbers: liquidity often clusters at round price levels, making them common trigger points; offsetting a stop by a fraction of ATR, often cited in the 0.10 to 0.30× ATR range, moves it beyond the obvious cluster.
- Time-of-day sensitivity: stops triggered near the open or close face thinner order books and wider spreads.
- GTC lifetime risk: a stop left open indefinitely can trigger during conditions you never anticipated when you placed it; FINRA Regulatory Notice 16-19 discusses firm-level safeguards around this, including limiting order duration.
- Stop-limit as a partial fix: adding a limit price controls the worst-case fill but introduces the risk of no fill at all during a fast move.
Validating a stop with backtesting and walk-forward testing
A stop distance that looks good on a single historical chart often fails on new data, a pattern known as overfitting. The correct sequence starts with the trading signal itself: validate that the entry logic shows an edge before optimizing the exit, since testing stops on a signal with no underlying edge produces results with no predictive value.
- Split your sample: separate historical data into in-sample and out-of-sample periods before any optimization begins.
- Run a grid search on stop distance: test a range of ATR multiples or fixed distances against the in-sample data, tracking metrics like win rate, average loss, and drawdown rather than total return alone.
- Check robustness around the chosen value: a stop that performs well only at one exact distance, with sharp drop-offs on either side, is a signal of overfitting rather than a real edge.
- Run a walk-forward test: apply the selected stop distance to the out-of-sample period and confirm performance holds without re-optimizing.
This process applies whether you trade manually or through an automated strategy, and it is the same logic underlying the methods referenced in our cryptocurrency trading strategies overview.
How automated execution applies this framework consistently
Automated trading systems apply stop logic the same way on every trade, which removes the variability that comes from adjusting a stop in the moment. Darkbot’s platform connects to exchanges through API integration, lets traders configure ATR-based or fixed stop distances per strategy, and includes backtesting and paper trading so a stop method can be validated before it runs on live capital. Our risk management overview describes how these controls work together under human-defined rules, with oversight retained by the trader who sets them.
A process view of disciplined stop placement
Rules beat improvisation because rules can be tested and repeated. A stop distance you have backtested and sized correctly will outperform one moved on impulse, simply because it was chosen before the trade, not during it.
— Grisha
Automating stop placement with Darkbot
For traders who want the ATR-based, structure-based, and position-sizing logic described above applied consistently, Darkbot’s platform supports API integration with major exchanges, configurable stop settings, backtesting, paper trading, and position-sizing controls built into each strategy. Testing a configuration costs nothing on the Free plan, and the pricing page lists the Standard Plan at $12.50 per month and the Premium Plan at $25.00 per month for traders who want additional strategy capacity.
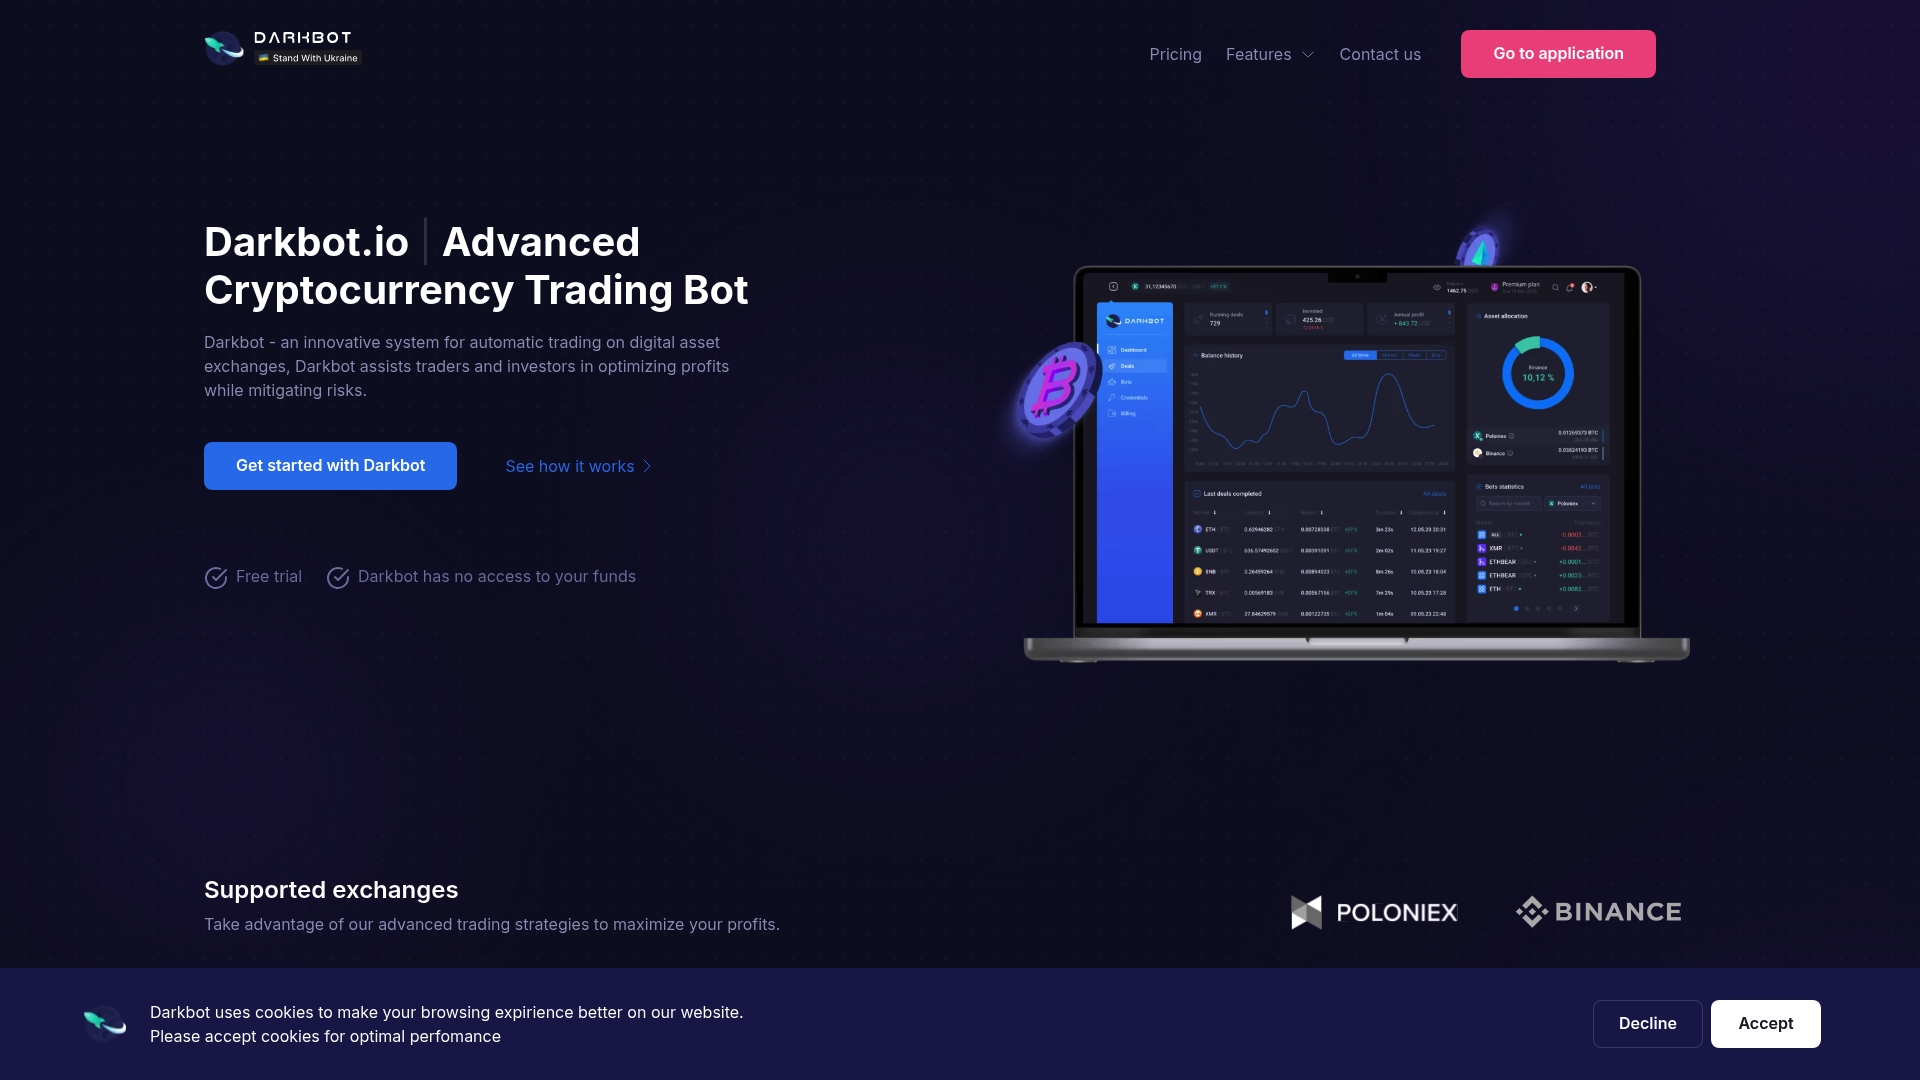
Check the pricing page to compare plan features before connecting an exchange account.
This article is general information, not a substitute for advice from a qualified financial advisor. Consult a qualified financial professional about your own circumstances before acting on anything here.
FAQ
Where should a stop-loss be placed?
A stop-loss belongs beyond a level that would invalidate your trade thesis, such as a swing low, a support zone, or a distance based on a multiple of ATR, rather than at an arbitrary percentage. The exact placement should also respect your position-sizing rule, so the resulting trade risk stays within your account’s risk cap, per CME Group’s guidance.
I lost money trading. What should I do first?
Review whether your losses came from oversized positions relative to your stop distance, since risking more than a small percentage of account equity on a single trade is a common cause of large drawdowns. Before placing another trade, confirm your position-sizing math follows a consistent rule, such as the 2% rule, and that your stop levels have been tested rather than chosen in the moment.
What is the 7% rule for stop-loss?
A fixed-distance approach is one among several; ATR-based and structure-based methods are alternatives that adjust for an instrument’s own volatility instead of applying one flat percentage to every trade.
What is a good stop-loss rule?
A good stop-loss rule combines a distance method, such as ATR-based or structure-based placement, with a position-sizing rule that limits single-trade risk, commonly to around 2% of account equity as described by CME Group. The rule should also be backtested across historical data before being applied with real capital, since a distance that has not been validated carries a higher risk of being overfit to a small sample of trades.
Sources

Start trading on Darkbot with ease
Come and explore our crypto trading platform by connecting your free account!
Free plan available • No credit card required