Trading Bot Onboarding: A Step-by-Step Setup Framework
Trading bot onboarding is the sequence of decisions you make before automation touches live funds: what the bot may do, where it trades, how it connects, how it is tested and which limits stop it. Software comes last. Coin Bureau frames setup the same way: exchange access, a clear strategy and strict risk rules first, then the tool. This guide walks through that order, stage by stage.
TL;DR
- Define the bot’s rules (entries, exits, when to stay out) and risk limits before you pick or configure any software.
- Connect through API keys with trading permissions only. Keep withdrawals disabled and restrict keys to approved IP addresses where the exchange allows it.
- Move through stages: backtest, paper trade, then a small live test. Promote a bot to the next stage on a documented review, not on elapsed time.
- Set position, daily-loss and drawdown limits before the first live order, and decide in advance who can stop the bot.
- After launch, review fills daily at first, the full log weekly, and keep an alert on drawdown.
What to Prepare Before You Connect a Bot
A bot executes rules. It does not supply them. Before onboarding, gather the following:
- An exchange account with API support. Confirm the venue lets you create API keys with granular permissions.
- A written strategy. Rules for entries, exits and conditions under which the bot stays flat.
- Risk rules. Maximum risk per trade, a daily loss limit and a stop condition for the whole account.
- Access to backtesting or paper trading. Coin Bureau recommends testing everything this way before deployment, and suggests beginners paper trade first with small capital.
- Secure credential storage. API secrets belong in a password manager or equivalent, never in a chat message or a shared document.
- A hosting and technical decision. A hosted platform removes most server maintenance. A self-built bot adds process monitoring, clock synchronization and restart handling to your list.
If any item is missing, onboarding is not finished. It is more efficient to close the gap now than to discover it during a live session.
Step 1: Decide What the Bot Is Allowed to Do
The recommended order, per Coin Bureau, is to decide what the bot may do, then where it will trade, then which tooling to use. This ordering matters because each later choice depends on the earlier one. A strategy built around liquid pairs and a few open positions needs different exchange features than one that rebalances a portfolio.
Write the mandate in plain language:
- Which instruments and which market type (spot, margin, futures).
- The conditions that open a position, the conditions that close it and the conditions under which no trade is placed.
- The maximum number of simultaneous positions.
- The events that pause or stop the bot.
A mandate of this kind is what makes the bot’s behavior repeatable. When results deviate, you can ask whether the bot followed the rules, rather than guessing at what it was supposed to do. For a deeper treatment of rule design, see our automated trading strategies guide.
Step 2: Connect the Exchange Through API Keys
An API key lets software act on your account without your password. The permissions you grant define the worst case if the key is ever exposed, so grant the minimum.
| Permission | Spot trading bot | Reason |
|---|---|---|
| Query funds / read balances | Enable | The bot needs to see available capital |
| Query open orders and trades | Enable | Needed to track state and fills |
| Create and modify orders | Enable | Core execution function |
| Cancel / close orders | Enable | Needed for exits and risk controls |
| Withdrawals / transfers | Leave disabled | A compromised key with this right is a direct financial risk |
The first four rows match the permission set Kraken’s developer documentation lists for algorithmic spot trading. Kraken also advises enabling withdrawal rights only on keys that genuinely need to move funds, and pairing those with strict IP whitelisting. KuCoin’s guide gives the same pattern for its own interface: enable General and trading, leave Transfer unchecked, and select IP restriction so a leaked key cannot be used from another location.
A few additional practices from python.financial: create a separate production key with least privileges, and use an IP allowlist, key expiry and API-key two-factor control where the venue offers them.
Permission names differ between exchanges, so read the venue’s own descriptions as you create the key. Our walkthrough on API key integration covers the connection process in more detail.
Isolate the Account
CryptoAdventure recommends never connecting a bot to a main exchange account without controls. Its safest setup uses separate balances, restricted API permissions, capped order size, tested exits and a named person who can shut the bot down. A sub-account, where the exchange offers one, limits the capital the bot can reach to the amount you deliberately allocate.
Step 3: Choose Pairs and Settings
A bot is an execution tool, not a risk-management system on its own. CryptoAdventure makes this distinction: API security reduces the risk of unauthorized transfers, while strategy controls reduce market risk. Both need to be set.
Pair selection is a settings decision with direct consequences. A configuration designed around BTC and ETH liquidity should not automatically run on thin altcoin pairs, because fees, spread, depth and slippage behave differently there. In practice:
- Start with a small set of liquid pairs.
- Check typical spread and order book depth for each pair before enabling it.
- Keep order size small relative to visible depth.
- Add pairs one at a time so you can attribute changes in behavior to a specific cause.
The same logic applies to every parameter. Change one setting at a time, record the change and the reason, and compare behavior before and after. Our step-by-step trading strategy guide shows how to structure that process.
Step 4: Test in Stages Before Real Capital
Testing is a progression, with each stage answering a different question.
| Stage | Question it answers | Funds at risk |
|---|---|---|
| Backtest | Did the rules behave sensibly on historical data, including costs? | None |
| Paper trading | Does the bot execute correctly on live market data? | None |
| Shadow or sandbox review | Are orders formed and routed as expected? | None |
| Micro-live | Do real fills, fees and operations match the paper results? | Small, deliberately chosen |
ForecastingStocks describes the full sequence as backtesting with cost modeling and out-of-sample testing, walk-forward testing, paper trading on live data, going live at the minimum size to validate execution and operations, and scaling only after sustained, documented results.
One published example from Nadcab uses 90 or more days of historical data for the backtest, 24 to 48 hours in sandbox mode to verify order execution, and then live mode with minimal capital of $50 to $100 for one to two weeks of close monitoring. Treat those numbers as a reference point, not a rule: your own thresholds should follow from your strategy’s trade frequency and your account size.
FAMBF’s safety checklist adds a useful discipline. Micro-live size should be small enough that losing all of it would not matter, and promotion between stages should require a positive review, not just the passage of time.
What to review at each stage:
- Are fills close to what the model assumed?
- Did any orders get rejected or fail to cancel?
- Did the bot respect every limit you set?
- Does the log explain each trade by a specific rule?
Darkbot includes backtesting and paper trading so this progression can run inside one platform. Our step-by-step trading bot guide walks through it.
Step 5: Set Risk Limits Before the First Live Order
Limits should exist before the bot trades, because during a drawdown the temptation is to loosen them. Coin Bureau’s risk table offers a concrete starting framework for a first live setup:
| Control | Starting value |
|---|---|
| Risk per trade | 1% of account equity |
| Daily loss limit | 5% of account equity |
| Pause after losing trades | 3 in a row |
| Pause after failed or rejected orders | 3 |
| Exposure to one coin | No more than 20% |
| Open positions in first live test | 1 to 3 |
| Drawdown circuit breaker | Stop if equity falls 10% from starting balance |
The same source works through sizing: on a $10,000 account risking 1% per trade with a 5% stop-loss, the position is around $2,000 before fees and slippage. The logic is that position size equals the amount you are willing to lose divided by the distance to the stop.
Other frameworks are in the same range. Blockchain Council notes that per-trade risk in systematic approaches commonly sits between 0.25% and 1%, with exposure limits per asset and per correlation group. CryptoAdventure suggests capping each order at 1% to 2% of the sub-account balance and limiting the bot to a small set of liquid pairs. These are starting points for calibration, not guarantees about outcomes. Our risk checklist and article on risk management in trading bots cover how to apply them.

A Staged Scaling Schedule
Blockchain Council recommends starting at 5% to 10% of intended capital, moving to 25% if live metrics match projections over 30 days, and approaching full allocation after 60 days of consistency. The principle is that capital increases are earned by documented behavior. Whatever schedule you choose, write it down before launch.
Monitoring After Launch
Onboarding does not end at the first live trade. A bot needs an operating routine. CryptoSlate describes a practical one:
- Check open positions and recent fills at least once a day for the first month.
- Review the full performance log weekly.
- Set an alert for drawdown beyond your defined limit.
- Export trade records monthly if bot trades are taxable events where you live.
For more technical setups, python.financial lists what to watch by category: process health, market data freshness, order behavior (rejects, open-order age, partial fills), exchange balances against the bot’s own ledger, risk exposure and venue status such as maintenance and rate-limit pressure.
Define the response for each alert in advance. Which condition pauses the bot, which stops it, and who has the authority to do so? Our trading bot checklist can serve as a reference list for this routine.
Account Verification and Early Friction
Many people stall before the bot is involved at all. Stripe notes that retail drop-off tends to occur early: long or unclear forms, failed or slow ID uploads, and unfamiliar decisions about custody or fees. Complete exchange verification first, and use a stable connection with clear photos of your documents. Do the exchange identity steps and the bot setup as two separate tasks, so that a delay in one does not push you to rush the other.
Our Perspective
Automation is a method for applying the same rules every time. It is not a source of predictions, and we do not treat it as one. In our view, onboarding is where most of the outcome is shaped, because the quality of the rules, the permissions and the limits is fixed before the first order.
That is why we describe Darkbot as an AI-based automation platform and not a signal provider. The machine learning components are there to evaluate patterns probabilistically and adapt within rules you control, which supports consistency and structured risk control. Decisions stay inspectable, and we favor a human-oversight approach.
Our design intent is to make the staged path practical: connect through API keys, test with backtesting and paper trading, run multiple bots with separate settings, and apply risk management tools from the start. We would rather a trader spend an extra week in testing than skip a stage.
Grisha
Start the Process With Darkbot
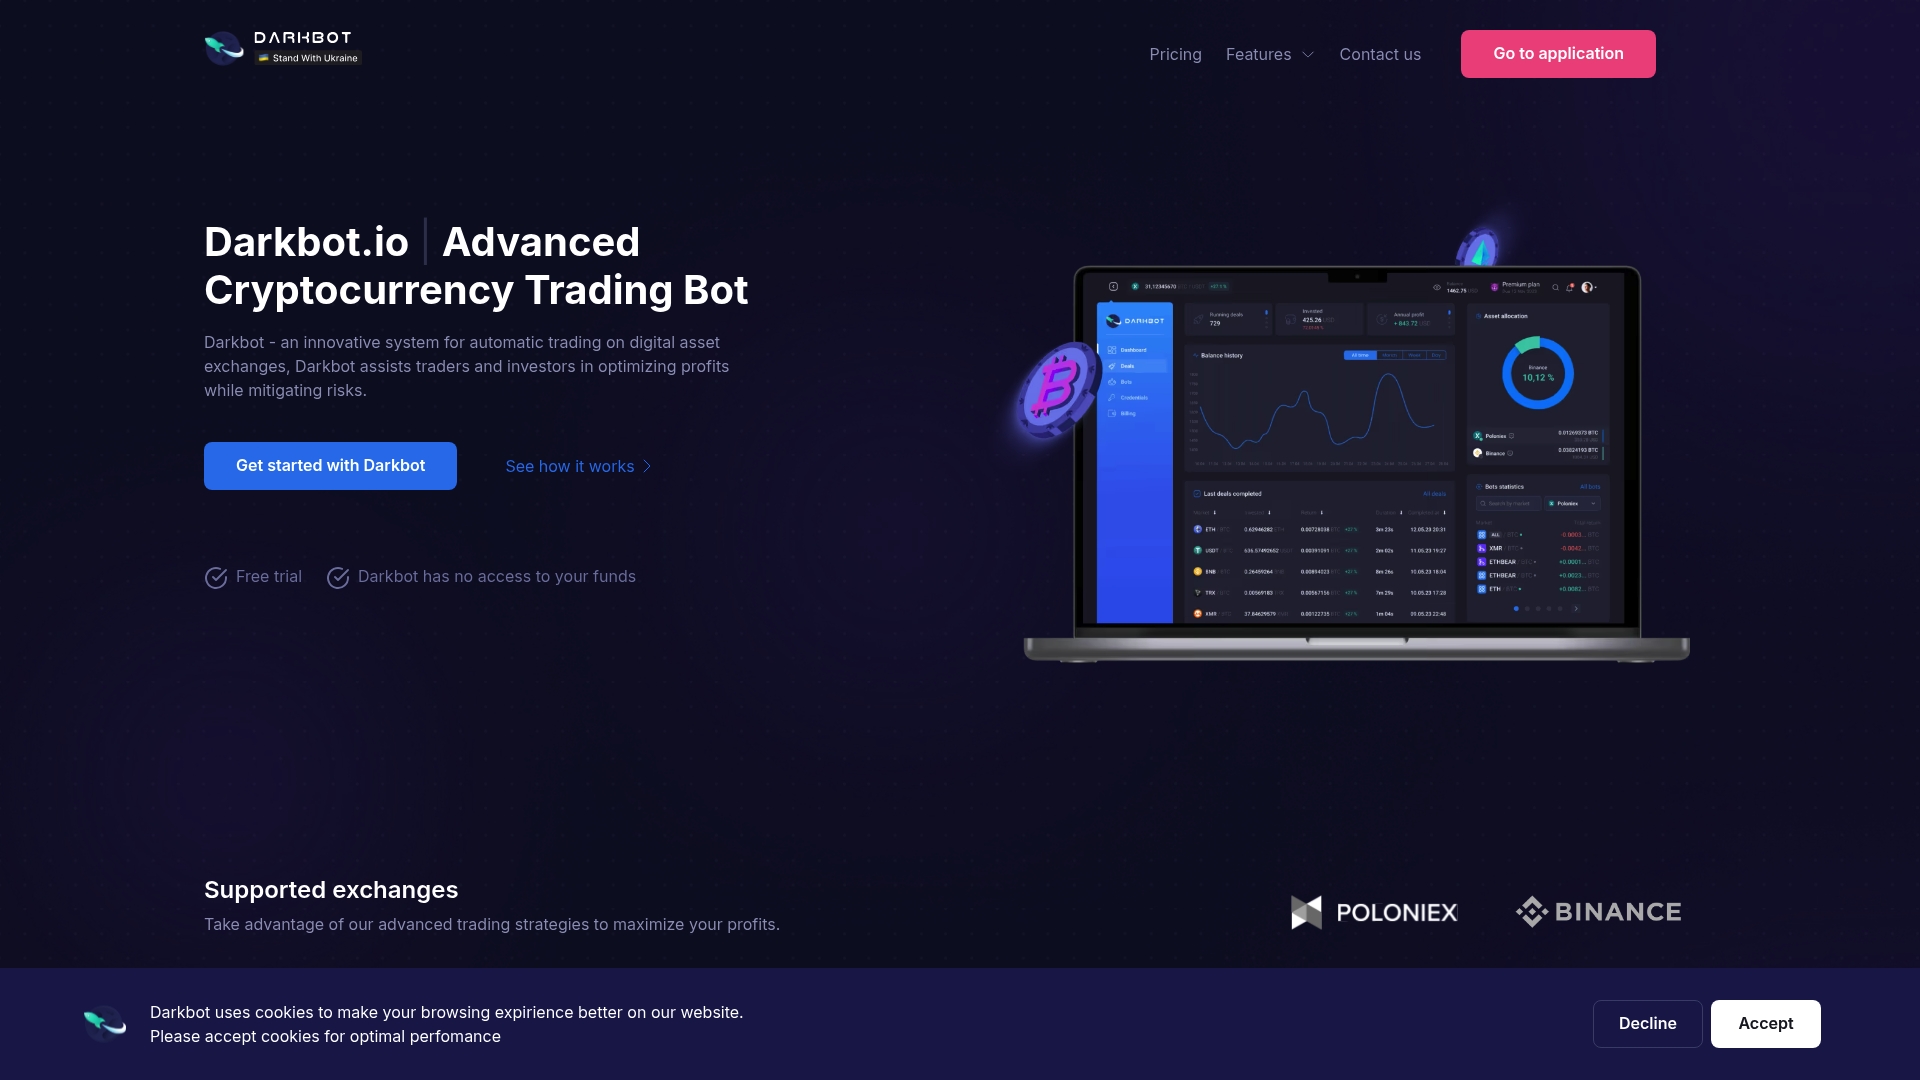
If you want to run the framework above in one place, Darkbot offers a free plan with limited features as an entry point, a Standard plan at $12.50 per month and a Premium plan at $25.00 per month. An Enterprise tier is also available. Subscriptions come with a 14-day money-back guarantee. You can compare the tiers on the Darkbot pricing page.
For a longer walkthrough of the connection and configuration process, read our cryptocurrency trading bot setup guide. If you are mapping out the whole routine from signal to execution, the trading workflow guide and our piece on how to automate crypto trading are the next steps.
FAQ
How long does trading bot onboarding take?
The account and API steps can take under an hour once your exchange is verified. The testing stages take longer and depend on your strategy’s trade frequency. Published examples use days to weeks of paper and micro-live testing before any scaling.
Which API permissions does a trading bot need?
For spot trading, the usual set is reading balances, reading open orders and trades, creating and modifying orders, and canceling orders. Leave withdrawals and transfers disabled, and restrict the key to approved IP addresses where the exchange supports it. Check the exchange’s own documentation for exact permission names.
Should I use paper trading before going live?
Yes. Paper trading checks that the bot executes your rules correctly on live market data without exposing capital. Follow it with a small live test, sized so that losing the whole amount would not matter to you.
How much of my account should a bot risk per trade?
Published starting frameworks sit between roughly 0.25% and 2% of account or sub-account equity per trade, with 1% a common reference. Set the figure before launch, pair it with a daily loss limit and a drawdown stop, and adjust only after reviewing documented results.
Sources
- Coin Bureau: How to set up a crypto trading bot
- Kraken Developers: API key permissions
- KuCoin: Using the KuCoin API
- python.financial: Build a Python crypto trading bot safely
- CryptoAdventure: Bot deployment checklist
- ForecastingStocks: Going live responsibly
- Nadcab: Crypto trading bot development guide
- FAMBF: The Bot Safety Checklist
- Coin Bureau: Crypto trading bot mistakes to avoid
- Blockchain Council: Automated crypto trading
- CryptoSlate: AI trading bot guide
- Stripe: Crypto onboarding best practices
Recommended

Start trading on Darkbot with ease
Come and explore our crypto trading platform by connecting your free account!
Free plan available • No credit card required